
PNG or JPG Logo to ILDA (When You Don't Have an SVG)
To convert a PNG or JPG logo to an ILDA file, open Image to Laser in BT Laser Studio and
drop the image under IMAGE SOURCE. It traces the logo into laser outlines; set
COLORS to the colors the logo really has, read POINT BUDGET, and click
DOWNLOAD ILDA. The .ild file is ILDA Format 5. No SVG is needed.
Hi, I'm Trina with BeamTracer.com. Most logos arrive as a PNG from a website or a JPG from an email, not as an SVG, and the answer people get on the forums is "trace it by hand" or "convert it to SVG first." Neither is necessary. In this one I take a raster logo from the file you actually have to a laser file, fix the two things that go wrong with a JPG, and show where the traced logo does and does not belong in Animation Studio.
If you do have the SVG, use it: How to Convert SVG to ILDA is the vector version of this post. This one is only about bitmaps.
A 12 KB JPG of the logo. COLORS goes from 8 to 3 under IMAGE TRACE, and the trace goes from 191 shapes and 4,766 traced points to 12 shapes and 597, the same logo the PNG gives.
How do I convert a PNG or JPG logo to an ILDA file?
Drop the image on Image to Laser and it traces the logo into outlines, one path around each solid area, in the image's own colors. You tune the trace under IMAGE TRACE, read POINT BUDGET, and download. The logo here is VOLT NIGHTS, a mark made for this post: a 1600 × 900 PNG with a transparent background and three flat colors.
- Open Image to Laser in Chrome or Edge.
- Drop the PNG or JPG on CLICK OR DRAG IMAGE FILE HERE under IMAGE SOURCE. PNG, JPEG, WebP, GIF, BMP and AVIF files up to 10 MB all work, and the trace appears as soon as the file loads.
- Read the line under IMAGE TRACE. This PNG reads
1600 × 900 · 12 shapes · 3 colors: the ring, the bolt and ten letters, in magenta, cyan and yellow. - Set COLORS to the number of colors the logo really has. Three here. Leave Trace style on Outlines — filled artwork for a logo with solid shapes.
- Open COLOR under PROPERTIES and check SOURCE COLORS. PRESERVE SOURCE COLORS is on, so each shape keeps its own color in the file.
- Read POINT BUDGET. This logo is 599 points and needs 18 kpps at 30 FPS, so the badge reads WITHIN on a Standard 30k scanner.
- Click OPEN IN ILDA VIEWER → to check the file, then come back.
- Click DOWNLOAD ILDA to save
volt-nights-logo.ildas ILDA Format 5 (2D True Color).
The whole conversion on one screen. A clean PNG needs nothing changed: 12 shapes, 3 colors, 599 points, WITHIN, and FIT 30 FPS and KEEP ORIGINAL both read 599.
The file is 599 points because a laser draws outlines, so every solid shape becomes a line around its edge, and the file also carries the dark travel between shapes. Reading the exported file back: 416 lit points draw the logo and 183 blanked points move the beam between its 14 paths. New to the app? Getting Started with BT Laser Studio covers the workspace those steps run in.
Do I have to convert the PNG to an SVG first?
No. Image to Laser traces the bitmap itself, so there is no detour through a vector editor or an online PNG-to-SVG converter, and no Windows software to install. The trace is a set of outlines around solid areas, though, which is not the same thing as a designed vector file. If you can get the SVG, it is still the better source.
| What you start with | What the laser file contains | Best for |
|---|---|---|
| PNG with a transparent background | One outline around each solid shape, in the image's colors | Most logos; nothing to clean up |
| JPG on a white or black background | The same outlines once COLORS and REMOVE SPECKLES are set | The copy you were emailed |
| SVG | The paths the designer drew, including single-line strokes and one path per part | Per-part animation, thin lines, the cleanest file |
Two things an SVG keeps that a trace cannot recover: a line drawn as a single stroke comes back from a bitmap as two outlines with a gap between them (fixable, see below), and the file has no idea which shapes belong together. That last point matters when you want parts of the logo to move on their own, which is the final section of this post.
Why does my JPG logo trace into hundreds of shapes?
JPEG compression puts shades along every edge that were never in the artwork, and Image to Laser traces each shade it is allowed to keep. The fix is COLORS: set it to the number of colors the logo really has, and every edge shade merges back into the shape it belongs to. An 800 × 450 JPG of the same logo traced into 191 shapes and 6 colors at the default of 8; at 3 it traced into the same 12 shapes as the PNG.
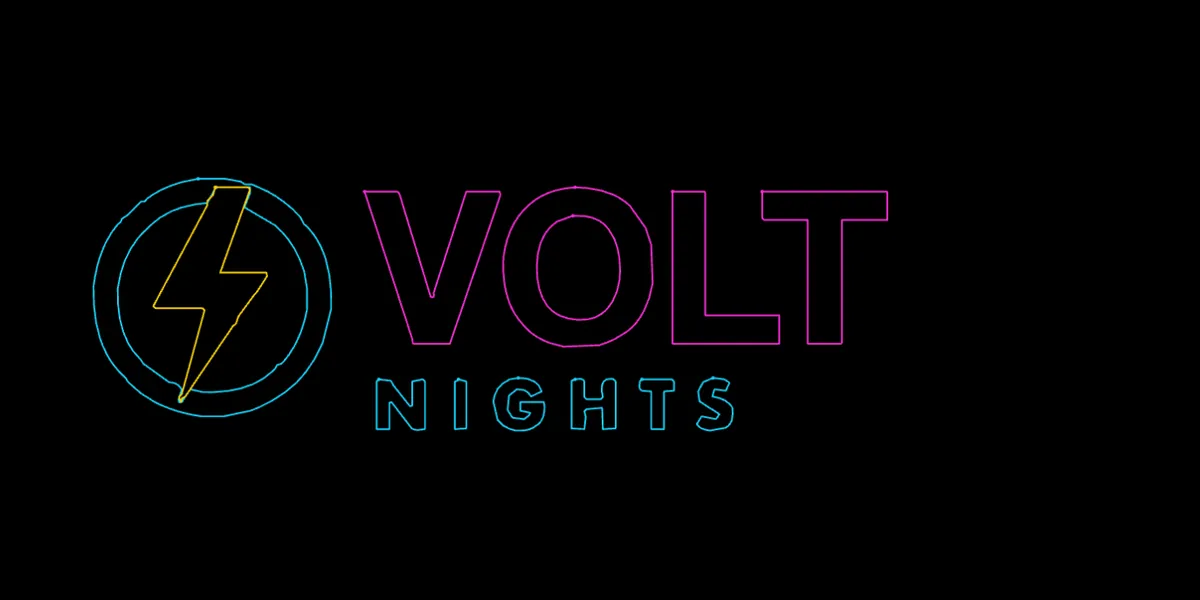
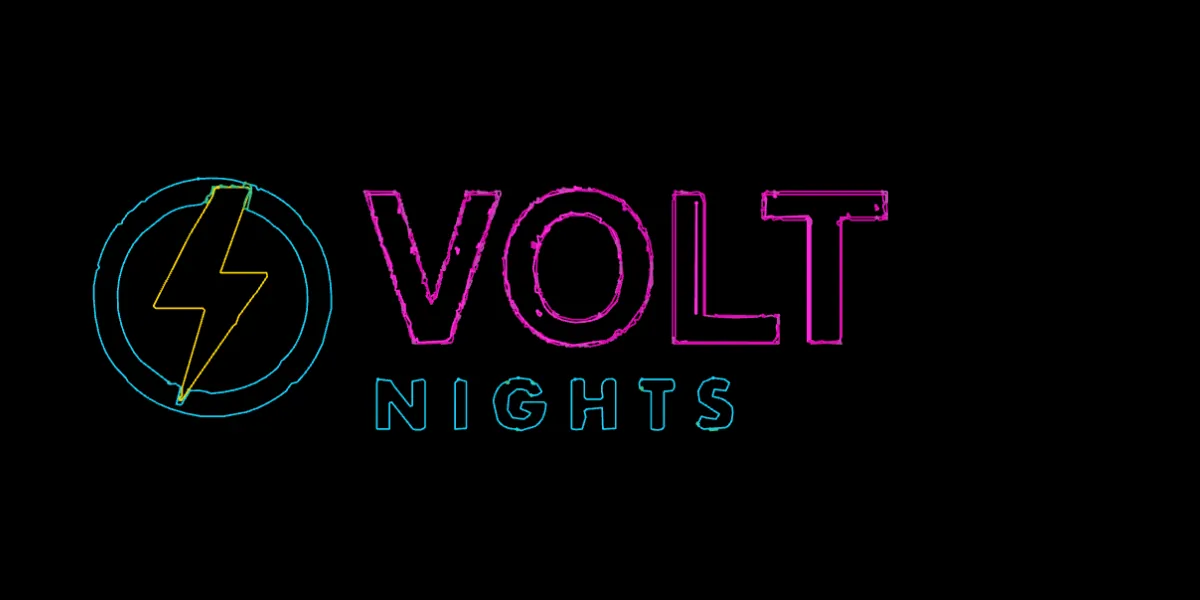 COLORS 8 · 191 shapesCOLORS 3 · 12 shapes
COLORS is the control to reach for first. On this JPG, REMOVE SPECKLES at 16 on its own still left 85 shapes and all 6 colors, because the edge shades are wide bands, not specks. COLORS at 3 on its own gave 12 shapes.
Background starts on Auto — border color, which removes the white the JPG was saved on. Choose Remove white, Remove black or Keep all colors if it takes something you need. Transparent PNG pixels are never traced.
CURVE TOLERANCE (default 1.5) smooths curves as you raise it. REMOVE SPECKLES (default 2) drops tiny contours; raise it for scanned or photographed logos, set it to 0 to keep a small dot that is part of the mark.
Use the biggest, cleanest copy you have
Trace the largest version of the logo you can find, and a PNG over a JPG when both exist. Image to Laser traces bitmaps at up to 2,048 pixels on the longest side, and a 200-pixel favicon traced up to laser size shows every pixel step as a wobble in the line.
Why does my logo come out as two lines?
Because a trace follows the edge of a solid area, and a thin stroke has two edges. A logo drawn as lines, such as an outlined badge or a single-stroke wordmark, traces as a pair of outlines with a gap between them. Switch Trace style to Center line — line drawings and each stroke becomes one path down its middle.
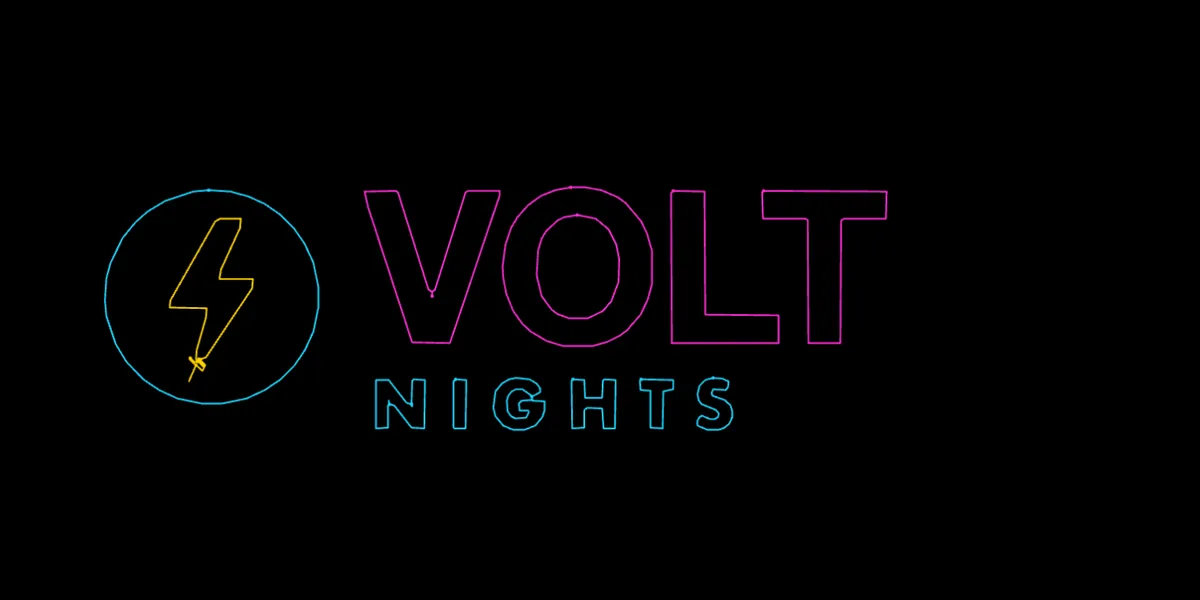
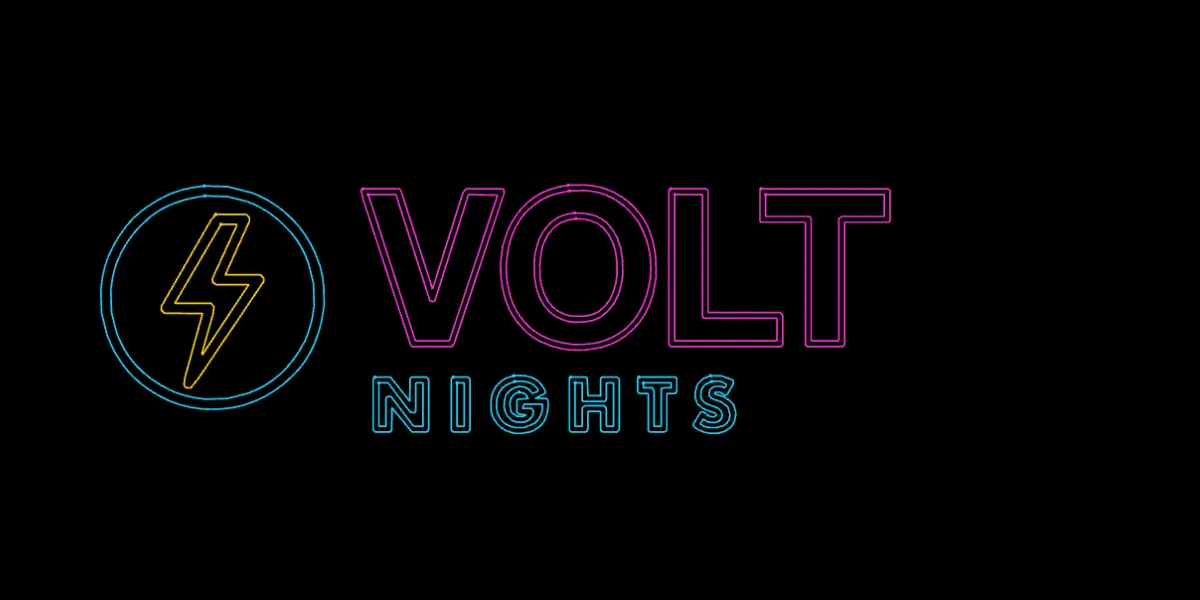 Outlines · 1,114 pointsCenter line · 623 points
- Drop the line-drawn PNG on CLICK OR DRAG IMAGE FILE HERE under IMAGE SOURCE.
- Set Trace style to Center line — line drawings.
- Set CENTER LINE WIDTH wider than the thickest stroke in the image, in source pixels. The default is 12; these strokes are 14 pixels wide, so 20 turns every one of them into a single line. Anything wider than the setting keeps its outline.
- Check small details in the preview. A tapered stroke end or a crossing can leave a short spur; raise REMOVE SPECKLES or clean the source image if it does.
- Read POINT BUDGET, then click DOWNLOAD ILDA.
What kind of logo traces badly?
Gradients, drop shadows and glows. A laser draws a line in one color, so a gradient becomes a stack of bands with an outline around each, and a soft shadow becomes a cloud of gray contours. The version of this logo below, with a gradient on VOLT and a drop shadow under everything, traced into 128 shapes and 8 colors, five of them grays, and 4,504 points: OVER LIMIT.
Left, the shaded PNG. Right, its trace: every band of the gradient and every step of the shadow is a separate outline. Ask the designer for the flat version.
If a flat version does not exist, lower COLORS to 3 or 4 and raise REMOVE SPECKLES until the shadow contours drop out, and expect to lose the gradient: a laser cannot draw one anyway.
How many points can a logo have?
Enough to fit your scanner at your frame rate, and POINT BUDGET does the arithmetic: on a Standard 30k scanner at 30 FPS, that is 1,000 points a frame. The clean PNG trace is 599 points and reads WITHIN. The JPG at its default settings traces to 4,766 points, which would need 143 kpps, and that is where the POINTS row under the export buttons comes in: it fits the file, and the badge reads NEAR LIMIT for what is left.
The JPG at its default settings, before cleaning up COLORS. FIT 30 FPS is selected, so the download would be 996 points, and the notice under it says what fitting cost: 1,260 corners and 144 paths.
POINTS offers two files, each button showing the count it writes. FIT 30 FPS (the label follows TARGET FRAME RATE) is selected when you open the tool: it thins the frame to what the scanner can draw at that rate and reports any corners or paths it had to leave out, so that JPG downloads as 996 points, not 4,766. KEEP ORIGINAL writes every traced point, whatever the budget says. For a logo, treat a big gap between the two numbers as a message about the trace, not a file to ship: 996 points fitted from a 4,766-point mess is a thinned mess, with 144 paths left out. Fix COLORS first, and the two buttons meet at 597.
Read the gap, not just the badge
With FIT 30 FPS selected the badge describes the fitted file, so this JPG reads NEAR LIMIT at 996 of 1,000 points rather than OVER LIMIT, and has lost detail on the way there. The distance between the two POINTS buttons is the size of the problem: 996 against 4,766 says the trace needs work, 599 against 599 says the logo fits as drawn.
LOWER TARGET WITH HEADROOM TO 20 FPS appears under the chooser when the fitted frame uses most of the budget; it drops the frame rate until the points fit with room to spare. Fewer redraws a second means more visible flicker on a still logo, so on a logo it is the last resort, after the trace is clean.
How do I check the file before it goes to a projector?
Open the file in the free ILDA Viewer and read FILE HEALTH: it should show VALID and WITHIN, the format, the frame count and the total points. Then look at the preview at full size, because a logo has to be read from across a room.
- Open the ILDA Viewer in Chrome or Edge, or click OPEN IN ILDA VIEWER → in Image to Laser to send the trace across without downloading.
- Drop
volt-nights-logo.ildon CLICK OR DRAG ILDA FILE HERE under ILDA SOURCE. - Read FILE HEALTH: VALID, WITHIN,
Format 5 (2D True Color),Frames 1,Total points 599, and "No issues detected". - Read the redraw line.
Redraws 50 times/sec at 30 kppsmeans this 599-point frame refreshes 50 times a second on a 30k scanner, well above the rate where a still logo starts to flicker. - Switch the preview to 3D to see the logo as beams from a simulated projector, and pick your DEVICE under FILE HEALTH to re-read the badge for your scanner.
The exported PNG trace in the ILDA Viewer. Everything FILE HEALTH reports came from the file, not the app that made it.
A logo is still a live beam
A still logo parks the beam on the same lines every frame, so a slow or stuck scanner concentrates the light. Project onto a wall, screen or other surface, keep people out of the beam path, keep the interlock within reach, and follow the procedure set for your projector and venue. The laser show safety guide covers the checks.
When should I split the logo into layers?
Split the picture, not the trace. A traced logo is one layer that moves as a whole, in its own colors, which is right for a logo that pulses, spins or writes itself on. For parts that move on their own, crop the image into its parts first, trace each one, and stack them as layers in Animation Studio. Each layer then gets its own reactions, and its own color if you want one.
Why not trace the whole logo and click SPLIT TO PATHS? Because a trace has no idea what the parts are. This logo's 12 shapes are 14 paths once the holes in the O and the ring are counted, and a session holds 10 layers, so SPLIT TO PATHS gave paths 1 to 9 a layer each and put the other five, the bolt among them, on the tenth, in trace order rather than any order you would choose. Each part keeps its colors, but the bolt and four letters sharing one layer is not a split anyone asked for. Audio-Reactive Laser Logo shows what a real per-part split looks like from an SVG.
- Crop the logo into its parts in any image editor, on the same canvas size so they line up: here
volt-nights-badge.png(the ring and bolt) andvolt-nights-wordmark.png(VOLT NIGHTS). - Drop the first part on CLICK OR DRAG IMAGE FILE HERE in Image to Laser, set COLORS, and click DOWNLOAD SVG. Repeat for the second part.
- Open Animation Studio and drop the first SVG on DROP SVG OR LOTTIE HERE OR CLICK TO CHOOSE under SOURCE, then the second. Each arrives as its own layer, named after its file, in the file's own colors.
- Select a layer in the TIMELINE and open COLOR under PROPERTIES: it reads Source colors with the part's own swatches. To draw that part in one color instead, pick from the palette; Preserve source colors switches off for that layer, and back on returns the file's colors.
- Choose VIEW under EDITOR to see the layers as the laser draws them, and read POINT BUDGET under the timeline: 585 points, "All within budget".
- Add reactions in the AUDIO tab with Drives pointed at each layer, then click DOWNLOAD ILDA to save
animation.ildas ILDA Format 5 (2D true color).
Two traced parts as two layers, each in the colors of its file. From here the badge can kick on the beat while the wordmark stays still, exactly as an SVG logo would.
SEND TO ANIMATION STUDIO is the shortcut for the one-layer case: it carries the current trace, in its colors, with any Quick Start you picked under ANIMATION & MODIFIERS, into a fresh session as one layer. Sending a second image starts another fresh session rather than adding a layer, which is why the two-part route goes through DOWNLOAD SVG.
Is it free, and does it work on a Mac?
Image to Laser and the ILDA Viewer run free in Chrome or Edge on macOS, Windows and Linux with nothing to install, and converting, previewing and the viewer need no account. DOWNLOAD ILDA needs a free account: signed in, every plan below Studio gets 3 clean ILDA exports per calendar month, shared across BT Laser Studio's tools, OSC-1 and the ILDA Viewer's EXPORT ILDA. Studio exports are unlimited. Current plans are on Pricing.
OPEN IN ILDA VIEWER → and DOWNLOAD SVG cost nothing, so you can get the trace right and check it before you spend an export.
Trace the logo you actually have — free, in the browser
OPEN IMAGE TO LASER →Next: How to Convert SVG to ILDA when you have the vector file, Audio-Reactive Laser Logo to make the parts move with a track, and Laser Blanking Explained if the letters come out joined on the wall.
That's a PNG to ILDA. beamtracer.com — I'll see you in the next one.