
Audio-Reactive Laser Logo: Make Your Logo Pulse to Music
To make an audio-reactive laser logo, open BeamTracer Animation Studio, drop your SVG logo on SOURCE and click SPLIT TO PATHS so each part of the logo becomes its own layer. In the AUDIO tab, load your track and give each part a reaction, such as Beat → Scale or Mid → Rotation. Then click DOWNLOAD ILDA.
Hi, I'm Trina with BeamTracer.com — in this one we'll take a logo, make the whole thing kick on every beat while the letter rocks with the melody, and check the result in the ILDA Viewer before it goes anywhere near a projector.
General guidance, not legal or safety advice. Laser rules are specific to where and how you project. Verify current requirements with the FDA CDRH and your state laser agency before any public use, and read the laser show safety guide before the first beam leaves the lens.
The exported file in the ILDA Viewer with GALVO SIMULATION on, Mirrors on IDEAL and the default TRAIL: all 299 frames, one pass. No audio is playing here. Every kick, every rock of the B and every flash of the dot is stored in the file.
What is an audio-reactive laser logo?
An audio-reactive laser logo is your logo, drawn by a laser, with its parts moving to a piece of music: the outline kicking on the beat, the lettering swaying with the melody, an accent blinking with the drums. In BeamTracer the movement is worked out from the track in Animation Studio and saved into an ILDA file, so any ILDA player can run it alongside the song.
The trick is that a logo is several shapes, and each can react to a different part of the sound. That is what makes it read as a logo reacting to music rather than one shape getting bigger and smaller.
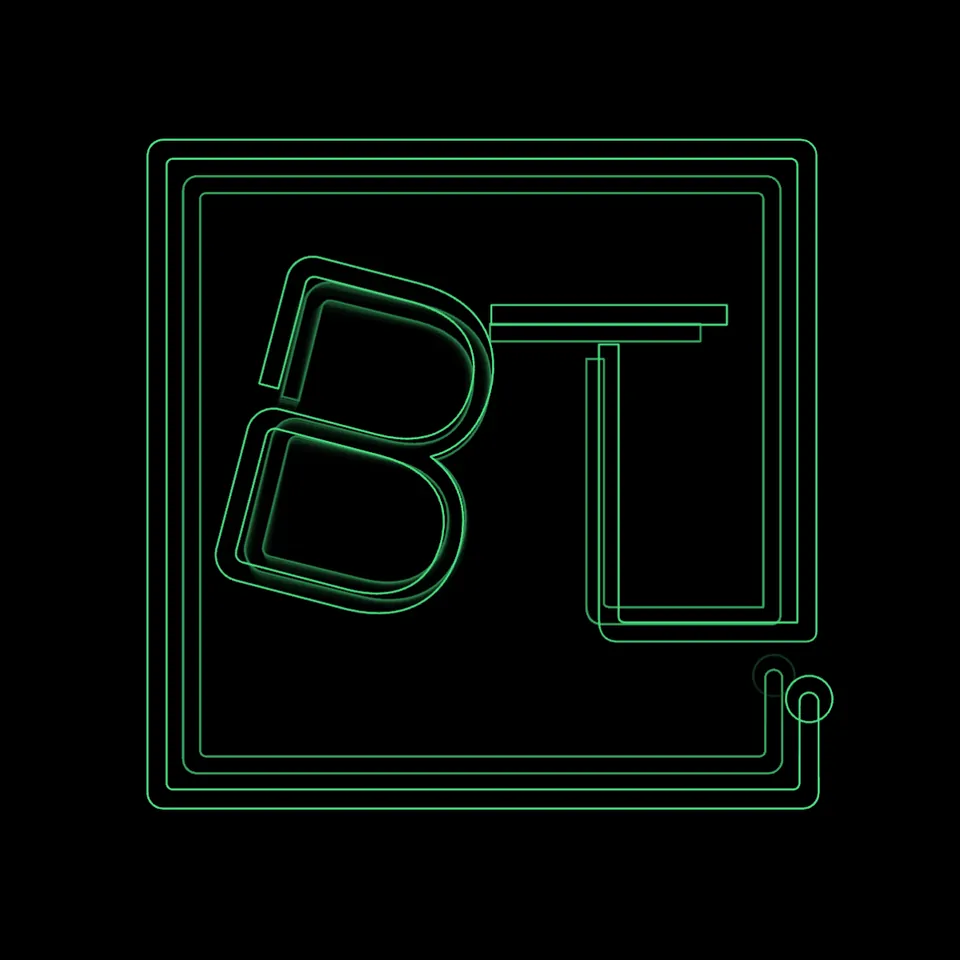
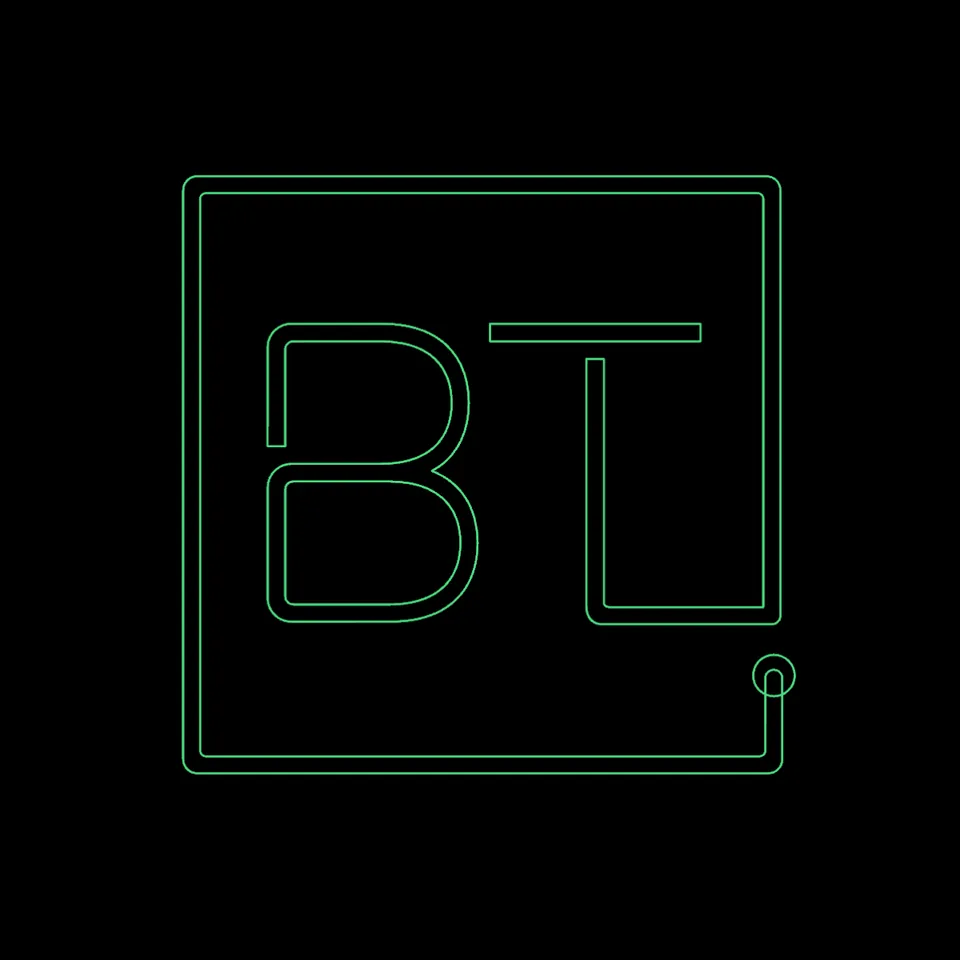 No reactionsBeat + Mid reactions
How do I get my logo into Animation Studio?
Drop an SVG of your logo on SOURCE in Animation Studio, then split it. An SVG keeps each part of the logo as its own path, and SPLIT TO PATHS turns every path into a layer you can move on its own. Use a logo you own or have permission to use; the one here is BeamTracer's own mark.
- Open Animation Studio in Chrome or Edge.
- Drop your logo on DROP SVG OR LOTTIE HERE OR CLICK TO CHOOSE under SOURCE. It arrives as one layer, named after the file.
- Open the PROPERTIES tab on the right, expand LAYER TOOLS, and click SPLIT TO PATHS.
- Check the TIMELINE: each part now has its own row, named after the file and numbered —
bt-logo_path_1tobt-logo_path_4here. The original stays in the list, hidden, marked (original).
Click a row to see which part it is. In this logo _path_1 is the B, _path_2 is the dot in
the corner, _path_3 is the bar of the T, and _path_4 is the frame, which also carries the
stem of the T because the artwork draws them as one line.
Split an SVG, not a traced image
Split works on the paths in the file, so it wants an SVG with one path per part. If you only have a PNG or JPG, trace it in Image to Laser and click Send to Animation Studio. The logo arrives as one layer, which is all you need to move the whole logo. Splitting a traced image gives one layer per traced outline piece, though, and a session holds 10 layers: the same BT logo traced from a PNG has 95 pieces, so SPLIT TO PATHS gives pieces 1–9 a layer each and merges the other 86 into the tenth, and says so under LAYER TOOLS. For per-part reactions, start from an SVG, or join the parts in a vector editor first.
How do I make each part of the logo react to music?
Load your track in the AUDIO tab, then add one reaction per part under 3 MODULATION and use Drives to point each reaction at its layer. Here the whole logo kicks on every beat, the B rocks with the mid frequencies, and the dot flashes on the beat. The last step exports the file.
- Open the AUDIO tab and expand AUDIO CHAIN. Drop your track on 1 SOURCE — MP3, WAV, OGG or M4A — or click the Music demo to follow along.
- For a short logo sting, drag the handles under AUDIO TRIM around the part of the song you want and click Select. This one keeps 10 seconds.
- Click EXTEND TIMELINE TO 9.97S under 3 MODULATION, then MATCH LAYER TO TRACK · 9.97S under 2 ANALYSIS. The numbers follow your trim, to the nearest frame.
- Click + ADD REACTION and set Beat → Scale, Drives on All layers, Min 1, Max 1.12, Smoothing 0%.
- Add a second reaction: Mid → Rotation, Drives on
bt-logo_path_1, Min -20, Max 20, Smoothing 10%. - Add a third: Beat → Opacity, Drives on
bt-logo_path_2, Min 0.3, Max 1, Smoothing 0%. - Choose VIEW under EDITOR and press play in the TIMELINE to watch it.
- Click DOWNLOAD ILDA under the canvas to save
animation.ildas ILDA Format 5 (2D true color).
The whole setup on one screen, parked on the beat at 0.70 seconds. 2 ANALYSIS found 95 BPM
in the Music demo, and the four bt-logo_path rows in the TIMELINE are the split logo.
| Part | Reaction | Drives | Min – Max | What you see |
|---|---|---|---|---|
| Whole logo | Beat → Scale | All layers | 1 – 1.12 | The logo kicks 12% larger on each beat, then snaps back |
| The B | Mid → Rotation | _path_1 | -20 – 20 | The letter rocks with vocals, synths and guitars |
| The dot | Beat → Opacity | _path_2 | 0.3 – 1 | The dot flashes to full brightness on each beat and sits dim between |
Beat fires on one frame per beat of the grid under 2 ANALYSIS. In this 95 BPM track that is every 19 frames at 30 frames per second, 16 times in the 10 seconds, which is why Smoothing stays at 0% for both Beat rows. Raise it and the one-frame hit is averaged away. Mid moves all the time, so a little Smoothing keeps the rotation from jittering.
Move the whole logo, rock a part
A split part keeps the size and position of the whole logo, so Scale and Rotation on one part turn around the center of the logo, not the center of that part. Scale the whole logo together with Drives on All layers. Save per-part reactions for movement that reads well around the center, such as a small rotation or an Opacity flash, or a part that touches another will pull away from it.
If a reaction barely moves, widen Min and Max. A frequency band rarely reaches full level, so the -20 to 20 range above rocks the B through about 21 degrees in this track, not 40. Every reaction source, target and control is listed in Audio-Reactive Features, and the Audio-Reactive Logo recipe shows the same idea with Bass → Scale on an outline and High → Opacity on lettering.
How do I make the logo's edges move with the waveform?
Select the logo layer, open the AUDIO tab and click Edge Wave under 4 GEOMETRY. The playing waveform then runs along the logo's own edges like an oscilloscope trace, in patches that drift around the logo while the corners hold still, and silence leaves the clean outline. It is the step up from a logo that only pulses: the lines themselves carry the sound.
Edge Wave on the whole BT logo with the Music demo, at the settings it starts with. Each line of the logo is drawn as two parallel outlines, and both move together, so the strokes ripple rather than tear apart.
- Load your track and set the timeline as in steps 1 to 3 above.
- Select the logo layer in the TIMELINE. Edge Wave works on one layer; to use it on a split logo, set it on each part you want to move.
- In the AUDIO tab, open 4 GEOMETRY and click Edge Wave. It starts at Intensity 50%, Resolution 320 points, Direction Both, Patches 4, Patch Width 40%, Drift 0.30 and Corner Hold 50%.
- Set Patches to how many stretches of edge should move at once. 0 moves the whole outline.
- Set Drift to how fast the patches travel around the logo. A negative value runs them the other way, and 0 holds them in place.
- Raise Corner Hold to keep the corners still, or lower Intensity if letters bend too far on the loudest hits.
- Choose VIEW under EDITOR and press play in the TIMELINE to watch it.
- Click DOWNLOAD ILDA under the canvas to save
animation.ildas ILDA Format 5 (2D true color).
The Edge Wave settings under 4 GEOMETRY. More Resolution gives a finer, more jagged edge and uses more of the point budget, so keep an eye on POINT BUDGET under the timeline.
You can combine the two approaches: keep the Beat → Scale kick from the reactions above and add Edge Wave on top, so the logo jumps on the beat and crackles in between.
Should I export SCANNER-SAFE or KEEP ORIGINAL?
Keep SCANNER-SAFE, the default. It fits each frame to the most points your scanner can draw at your Device profile and frame rate, and a frame that already fits is written exactly as drawn. This logo holds 379 points a frame, well inside the 699 that Standard 30k allows at 30 FPS, so both choices write the same file.
POINTS lives in the SAFETY tab under ILDA FILES, below the POINT BUDGET. Each button shows the point count of the busiest frame with that choice, and hovering DOWNLOAD ILDA tells you which one the file uses.
KEEP ORIGINAL writes every point exactly as composed. It matters for dense art: if a frame holds more than your scanner can draw, the panel warns you before you download. The details are in Animation Studio → Choose the points.
How do I check the logo before it goes to a laser?
Open the file in the free ILDA Viewer and read FILE HEALTH: it should show VALID and WITHIN and count the frames. Then watch the preview with no music playing. If the logo still kicks and rocks, the reactions are in the file.
- Open the ILDA Viewer in Chrome or Edge — or click OPEN IN ILDA VIEWER → in Animation Studio to send the same frames without downloading.
- Drop
animation.ildon CLICK OR DRAG ILDA FILE HERE. - Read FILE HEALTH: VALID and WITHIN, FRAMES: 299 for 9.97 seconds at 30 fps, and "No issues detected".
- Watch the preview, which shows each frame as designed. Switch on GALVO SIMULATION under ANALYSIS TOOLS to watch the scanner draw it: with TRAIL at 75%, each kick leaves a fading echo of the larger logo. Set Mirrors to IDEAL to see the logo as drawn, as here.
- Open PLAYBACK CONTROLS, keep FPS at 30 fps and leave Beat Sync on Off - Loop Freely.
The exported logo in the ILDA Viewer. FILE HEALTH reads 299 frames and 113,321 points, and Required: 11 kpps sits well under the 30 kpps limit of a Standard 30k scanner.
The file carries no audio, so start it and the track together, from the trim's start point, at the frame rate it was built at. Audio-Reactive Laser Show: Export a Beat-Synced ILDA File covers the cue in detail.
A logo is still a live beam
The logo's largest frame, the kick, decides where the light goes. Project onto a wall, screen or other surface, keep people out of the beam path, keep the interlock within reach, and follow the procedure set for your projector and venue. The laser show safety guide covers the checks.
Is it free, and do I need to install anything?
Animation Studio and the ILDA Viewer run free in Chrome or Edge with nothing to install, and the ILDA Viewer needs no account. DOWNLOAD ILDA needs a free account: signed in, every plan below Studio gets 3 clean ILDA exports per calendar month, shared across BT Laser Studio's tools, OSC-1 and the ILDA Viewer's EXPORT ILDA. Studio exports are unlimited. Current plans are on Pricing.
OPEN IN ILDA VIEWER → sends the logo to the viewer without downloading anything, so you can tune the reactions and check them before you spend an export.
Make your logo move with your track — free, in the browser
OPEN ANIMATION STUDIO →Next: Audio-Reactive Laser Show: Export a Beat-Synced ILDA File for the one-shape version and how to cue the file at a show, How to Convert SVG to ILDA to prepare a clean logo, and the Laser Show Safety Guide before any beam leaves the lens.
That's an audio-reactive laser logo. beamtracer.com — I'll see you in the next one.