
Convert JPG to SVG for a Laser Projector (No Vector Editor)
To convert a JPG logo to an SVG for a laser projector, drop the JPG into Image to Laser in BT Laser Studio. The trace is already outlines with no fills, and black artwork projects as white. Leave CURVE TOLERANCE at 1.5, pick the beam color, read POINT BUDGET, keep Outline SVG on and click DOWNLOAD SVG. It is free in Chrome or Edge, with no account.
The whole conversion on one screen: a 15 KB JPG, three outlines, 231 points, drawn in the red that goes into the file.
The logo here is SPARKLE 27, a black-on-white JPG made for this post, saved the way logos usually arrive by email. If you would rather send your laser an ILDA file, PNG or JPG Logo to ILDA covers that route and JPG cleanup in depth.
How do I convert a JPG logo to an SVG for a laser?
Trace it in Image to Laser and download the outlines. There is no fill to delete and no stroke to recolor by hand, because the trace is drawn as lines from the start.
- Open Image to Laser in Chrome or Edge.
- Drop the JPG on CLICK OR DRAG IMAGE FILE HERE under IMAGE SOURCE. This one reads
1200 × 800 · 3 shapes · 1 colorsunder IMAGE TRACE. - Leave Trace style on Outlines — filled artwork and CURVE TOLERANCE at 1.5.
- In PROPERTIES on the right, turn off Preserve source colors under TRACE and click a color in the COLOR palette. Red here.
- Read POINT BUDGET at the bottom of the left column. This logo reads WITHIN.
- Check that Outline SVG is on under TRACE. It starts on for a JPG or PNG.
- Click DOWNLOAD SVG to save
sparkle-27-logo.svg.
Outline SVG decides what DOWNLOAD SVG writes, and it starts on for a JPG or PNG. On, the file has one unfilled outline per edge in the color the laser preview draws, which is the file laser software wants. Off, it keeps the traced shapes filled, the way the picture looked.
Why can't a laser projector use a filled SVG?
A laser draws with one moving dot, so it can only trace lines. A filled shape has no line to follow inside it. Image to Laser handles this in the trace itself: each solid area of the JPG becomes the outline around it, the same outline you would get by setting the fill to nothing and adding a stroke in a vector editor.
Color is the other half. A laser has no black light, so a black stroke draws nothing. Image to Laser projects black artwork as white, and with Outline SVG on the download uses that same projected color, or the one you pick under COLOR.
The downloaded file: three paths, fill="none", stroke #FF0000.
| In a vector editor | In Image to Laser |
|---|---|
| Run the auto trace, then compare it with the original | The trace appears as soon as the JPG loads |
| Set the fill opacity to zero on every shape | The trace is outlines from the start |
| Give the strokes a color the laser can draw | Black projects as white; pick another under COLOR |
| Export, import into laser software, watch the frame rate | POINT BUDGET reads the load before you export |
| Break curves to separate parts | SPLIT TO PATHS in Animation Studio |
What should Curve Tolerance be for a JPG?
Leave it at the default of 1.5. Lower values follow the edge more closely, and on a JPG the edge is full of compression steps, so the lowest setting traces those too. On this logo that is the difference between 231 points and 1,303, with no improvement you can see in the shapes.
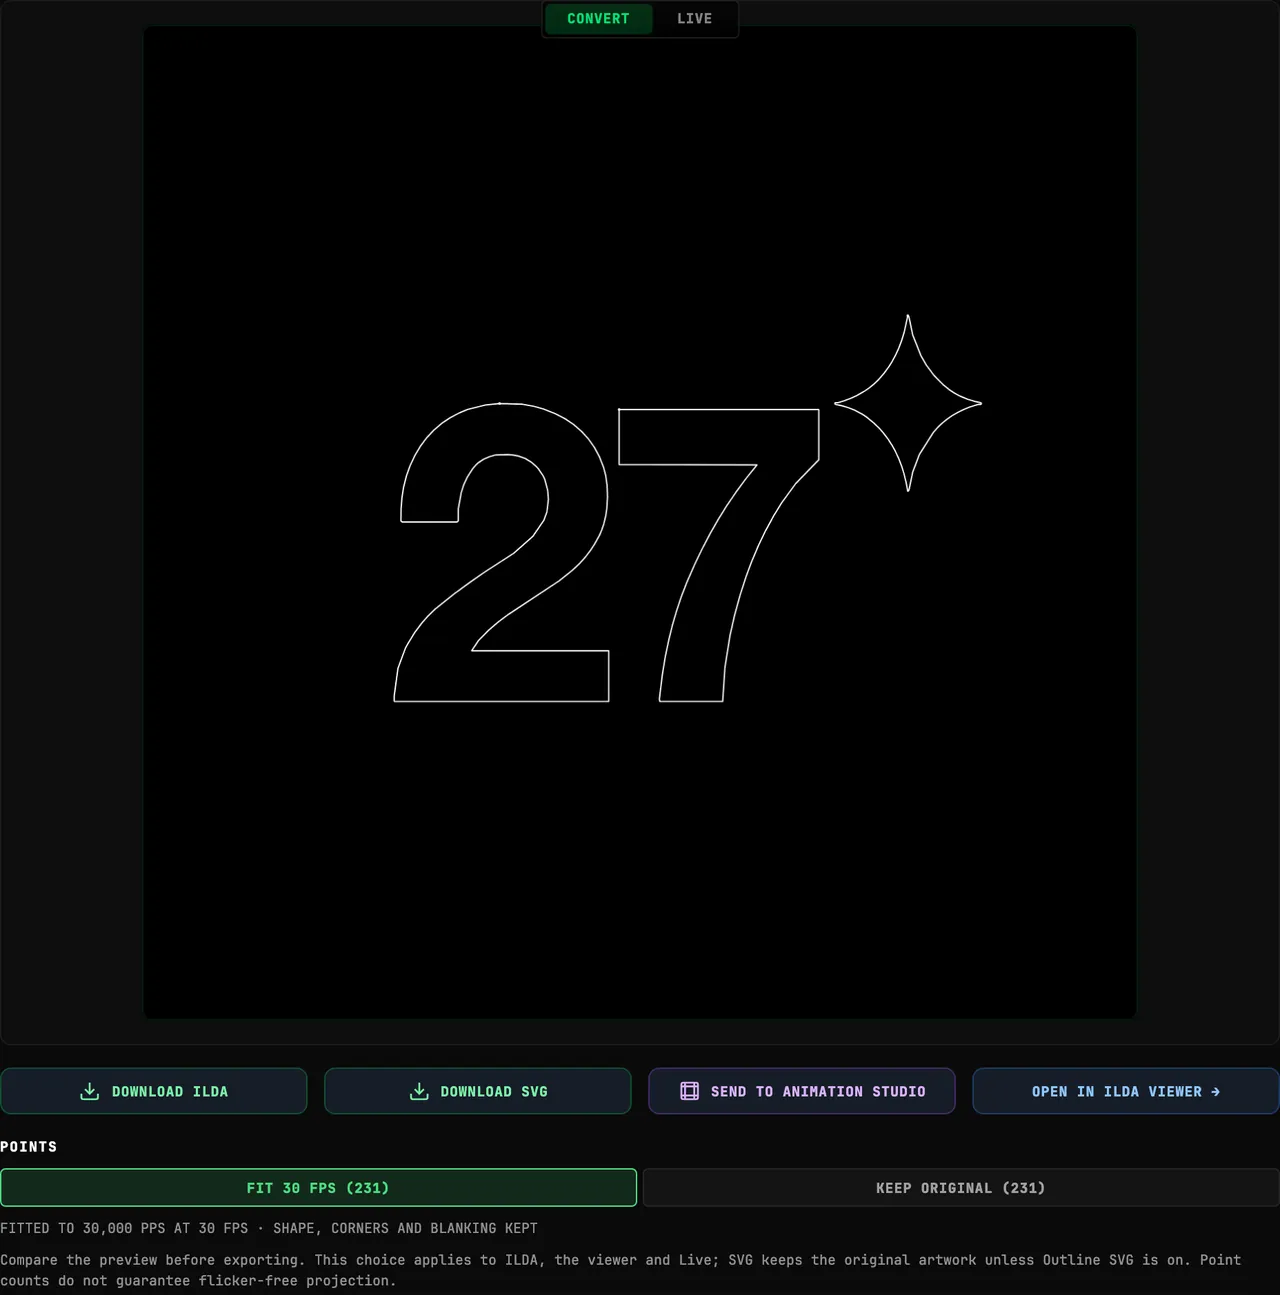
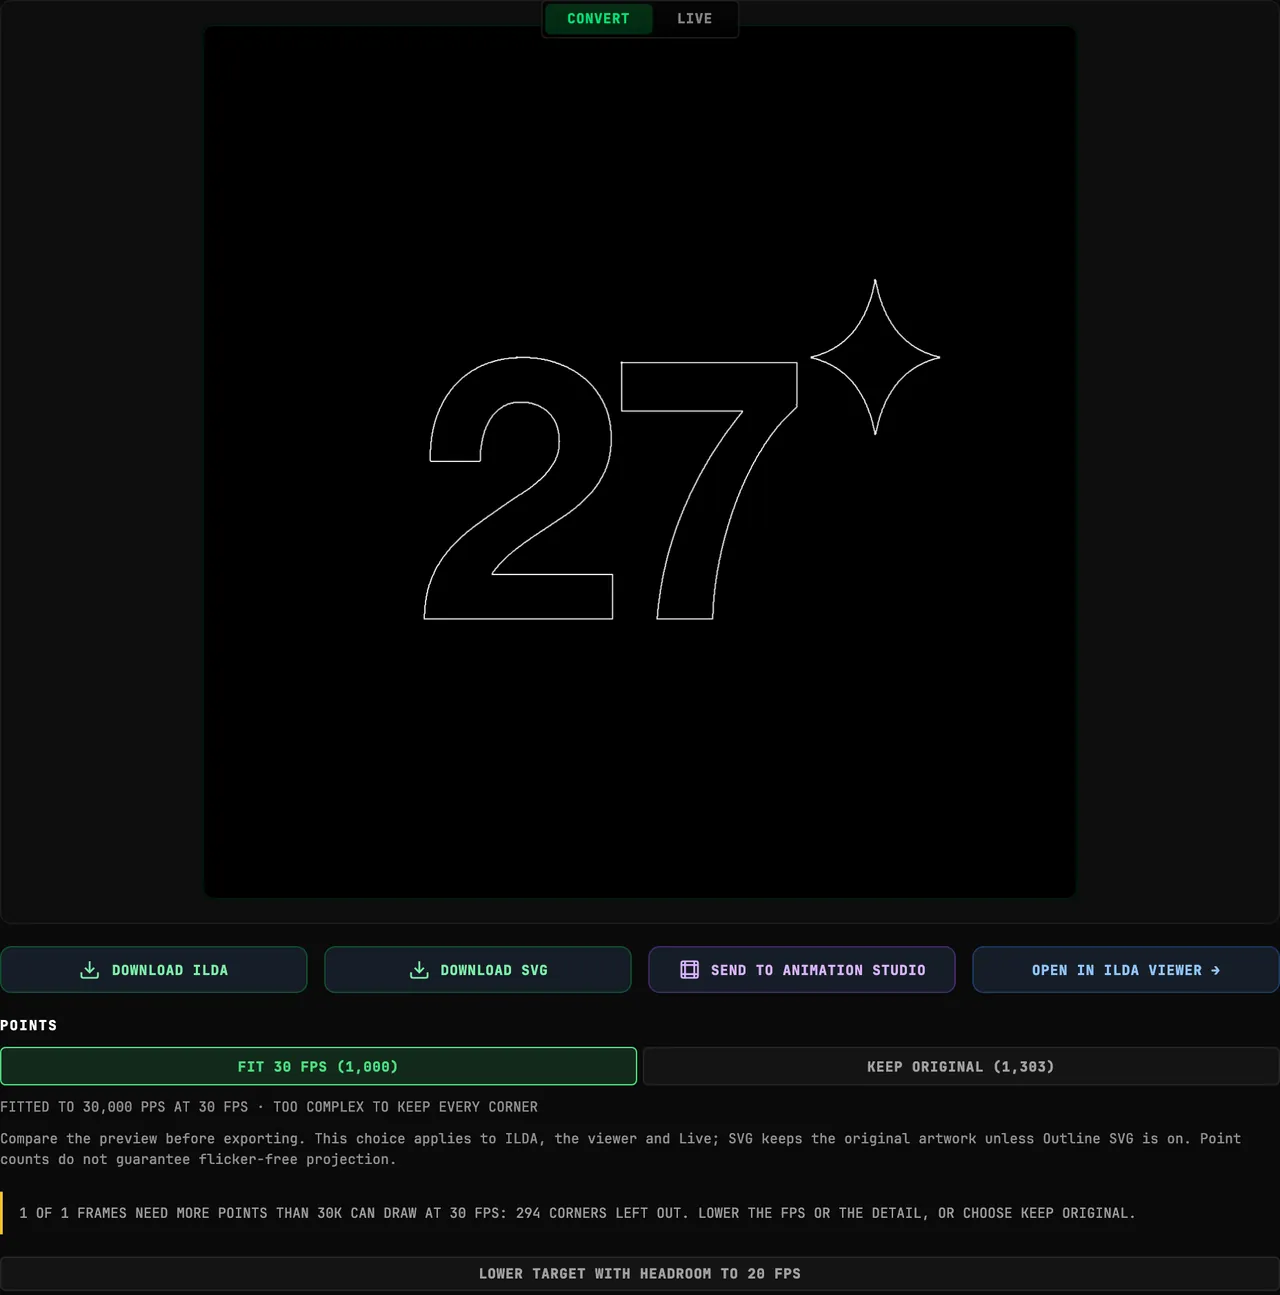 0.1 · 1,303 points1.5 · 231 points
Raise it above 1.5 only if a curve looks lumpy, and lower it only for a clean, large PNG where small details matter. Check the POINTS row after each change: the count is what your scanner has to draw every frame.
How do I choose the beam color?
Turn off Preserve source colors under TRACE, then click a color in the COLOR palette. The preview and the file both switch to it. With Preserve source colors on, COLOR lists the logo's own colors instead, and each one can be replaced separately.
The palette is the standard ILDA color set. Whichever swatch you click becomes the outline color in the preview, in DOWNLOAD SVG, in DOWNLOAD ILDA and in the layer SEND TO ANIMATION STUDIO creates.
How do I know if my logo is too detailed for the laser?
Read POINT BUDGET before you export. It compares the points in the frame with what the selected scanner can draw at your TARGET FRAME RATE, and reads WITHIN, NEAR LIMIT or OVER LIMIT. This logo needs 6.9 kpps at 30 FPS, well inside a Standard 30k scanner.
POINT BUDGET for the 231-point logo. Change DEVICE to match your scanner.
That answers the question you would otherwise settle by watching a simulator's frame rate after importing. If the badge reads NEAR LIMIT or OVER LIMIT, simplify the trace first: check CURVE TOLERANCE, and for a JPG with color fringes, lower COLORS to the logo's real palette.
Can I split the logo into separate parts?
Yes, in Animation Studio. Click SEND TO ANIMATION STUDIO under the preview, open LAYER TOOLS in PROPERTIES, and click SPLIT TO PATHS. Each outline becomes its own layer, so here the 2, the 7 and the sparkle can each move on their own.
- In Image to Laser, click SEND TO ANIMATION STUDIO. The logo opens as one layer, in the color you picked.
- Open LAYER TOOLS under PROPERTIES and click SPLIT TO PATHS.
- Read the TIMELINE:
sparkle-27-logo_path_1,_path_2and_path_3, with the original kept and hidden below them. - Select a layer and animate it, or click DOWNLOAD ILDA to save the whole logo as an ILDA file.
Three parts, three layers, still 228 points.
A logo with holes, such as an O or a 6, splits the hole into its own path as well. A session holds 10 layers; paths past that share the last one.
A logo is still a live beam
A still logo keeps the beam on the same lines every frame. Project onto a wall or screen, keep people out of the beam path, keep the interlock within reach, and follow the rules for your projector and venue. The laser show safety guide covers the checks.
Is it free, and do I need to install anything?
Image to Laser runs in Chrome or Edge on macOS, Windows and Linux with nothing to install. Tracing, previewing, DOWNLOAD SVG and SEND TO ANIMATION STUDIO need no account. DOWNLOAD ILDA needs a free account: plans below Studio include 3 clean ILDA exports a month, and Studio exports are unlimited. Current plans are on Pricing.
Turn your JPG into a laser SVG — free, in the browser
Try Image to LaserNext: PNG or JPG Logo to ILDA for the ILDA route and JPG cleanup, Simplify SVG Laser Artwork when a logo reads OVER LIMIT, and LaserCube Setup with BeamTracer to send frames to a cube directly.