
How Do I Make a Smooth Laser Shape Morph?
To make a laser shape morph, load an outline in BeamTracer Animation Studio, select its layer, and open ANIMATION → GEOMETRY → Morph. Choose a target under Morph To, set Effect Duration, and pick an easing curve. Enable Loop (morph back and forth) for a return to the original outline, then download the ILDA.
Three rosettes change into a circle, square and triangle. This is Cinema’s software simulation of the exported ILDA, viewed with the Iso camera; it is not footage of a physical projector.
How do I morph an outline into a circle?
Start with one closed outline so you can judge the intermediate shapes. You can use the cyan rosette SVG from this example, or one of your own simple outlines.
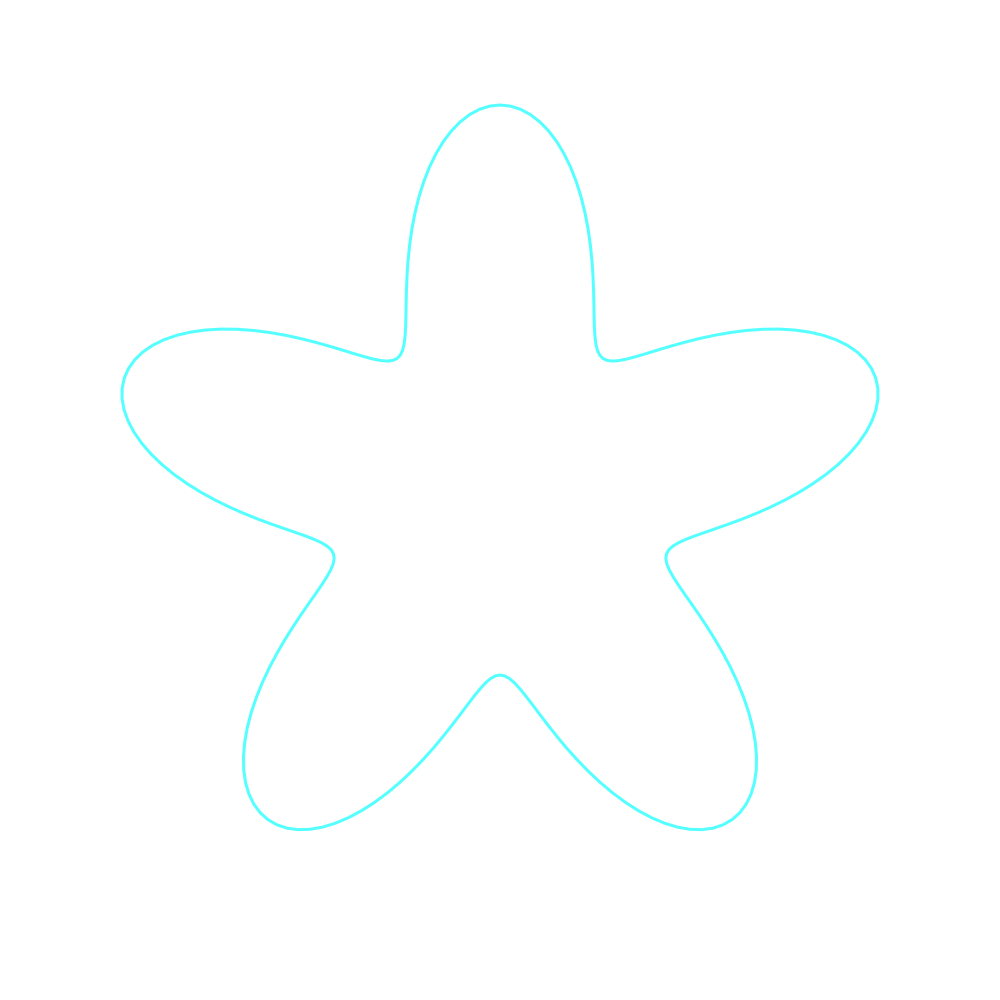
- Open Animation Studio and drop the SVG into SOURCE.
- Select the new layer. In PROPERTIES → TRANSFORMS, set its width W: 92 with proportions linked; keep it centered at X: 50, Y: 50. Open COLOR and pick cyan
#55FFFF. - Open ANIMATION and choose GEOMETRY → Morph.
- Under SHAPE MORPH SETTINGS, set Morph To → Circle and Easing → Ease In-Out.
- Set Effect Duration (s): 6, enable Loop (morph back and forth), and set Layer Duration (s): 6.
- Play the timeline and scrub through the middle of the change. Check the outline as it leaves the source and approaches the circle.
- Choose DOWNLOAD ILDA, open that file in ILDA Viewer, and play it at 30 FPS with beat sync off to inspect the saved timing.
The single-outline version makes the geometry change easier to follow. This is playback of the downloaded ILDA, not just the editor preview.
Morph To also offers Square, Triangle, Star, and Heart. Choose a target with a clear silhouette before combining several layers. This control uses the listed target shapes; it is not a picker for a second arbitrary SVG file.
How does easing change the morph?
Linear moves through the interpolation at an even rate. Ease In-Out slows the start and finish, which gives the source and target more time to read. Both still pass through intermediate outlines.
The source, target, six-second duration and return setting match the eased version. Only Easing changes.
Scrub near the beginning, midpoint and end when comparing them. Ease Out gets away from the source quickly and approaches the target more slowly. It can work well for a smaller accent layer while the larger outlines take a more measured path.
Effect Duration controls the morph. Layer Duration controls how long the layer remains on the timeline. Keep both at six seconds for this recipe so the complete return remains visible. Turning the morph’s Loop option off makes the change one-way; repeating the timeline alone does not add a smooth return.
How do I build the layered version?
Import the amber rosette and rose rosette as two more layers. Keep all three at X: 50, Y: 50, with no rotation or motion path. In PROPERTIES → COLOR, pick a color for each layer from the palette.
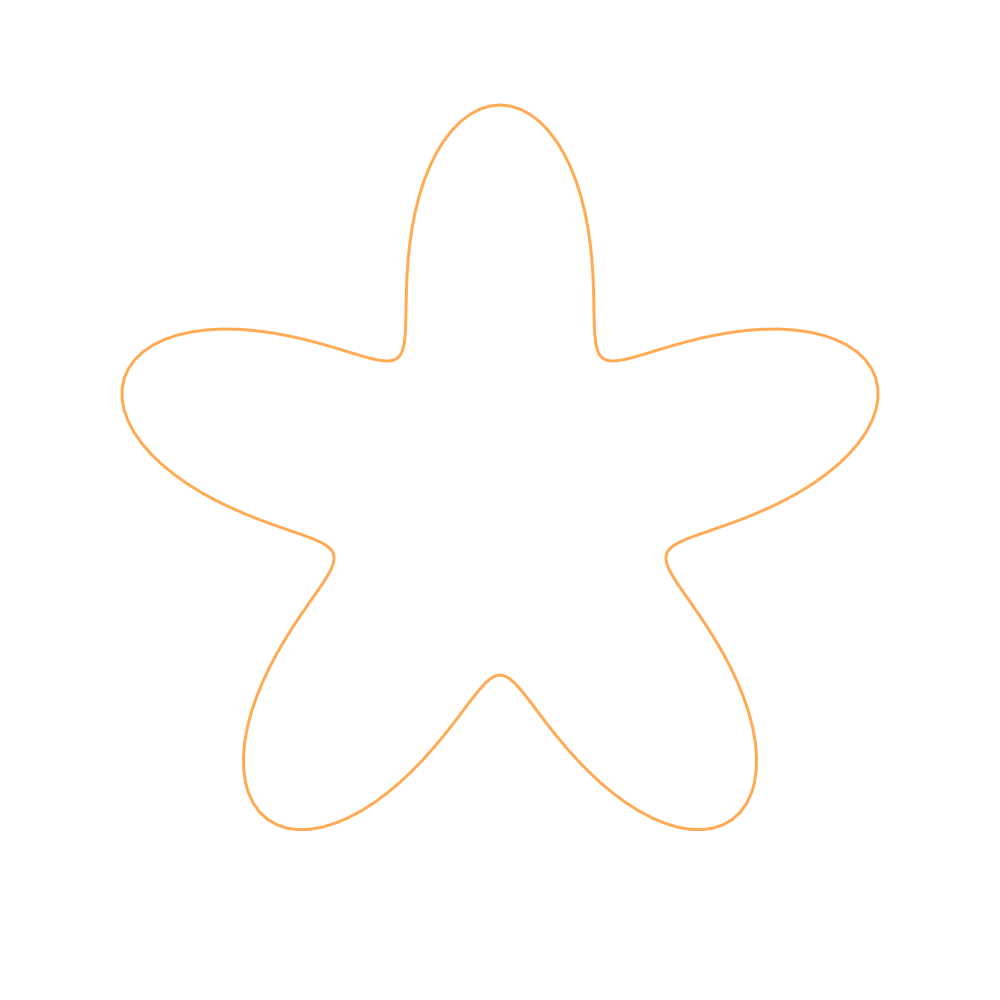
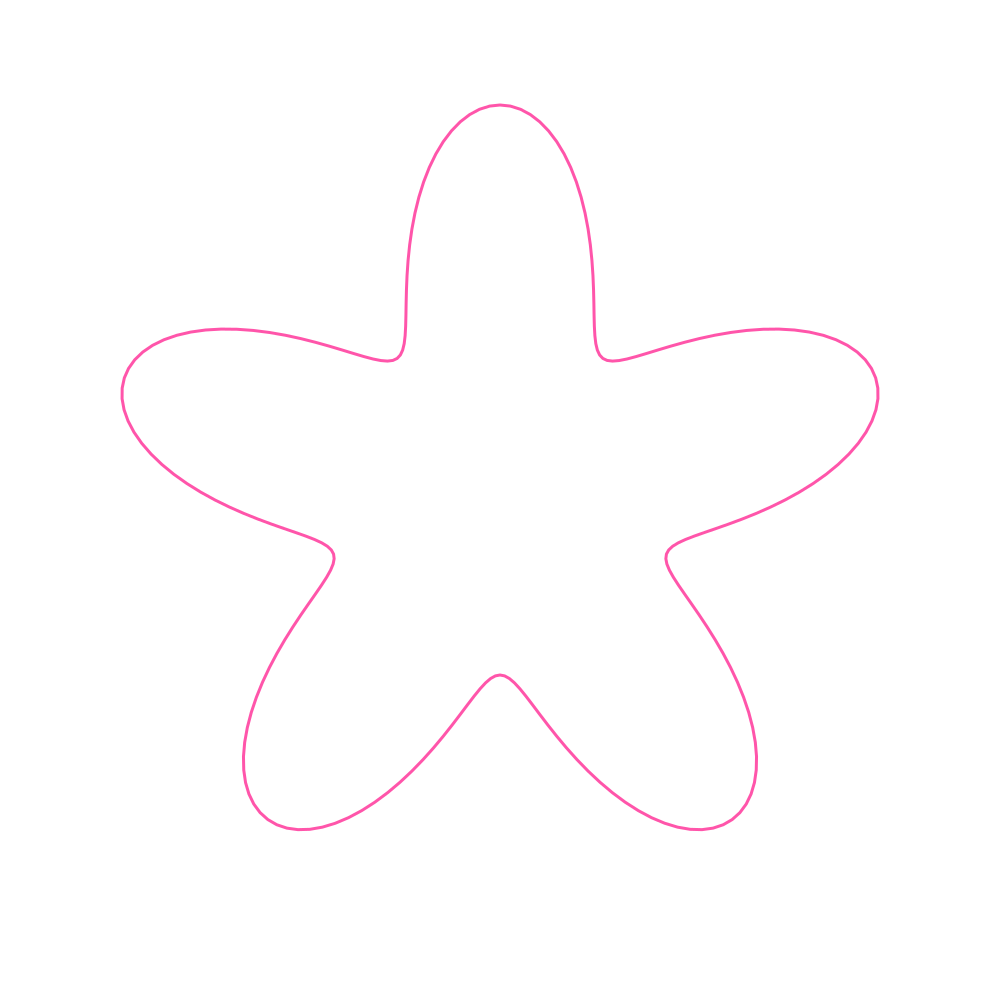
| Layer and color | W / H | Morph To | Easing | Effect / Layer Duration |
|---|---|---|---|---|
Cyan #55FFFF | 92 / 92 | Circle | Ease In-Out | 6 / 6 seconds |
Amber #FFAA55 | 70 / 70 | Square | Ease In-Out | 6 / 6 seconds |
Rose #FF55AA | 48 / 48 | Triangle | Ease Out | 6 / 6 seconds |
Enable Loop (morph back and forth) on each layer. The smaller outline approaches its target at a different pace. Different targets keep the colored outlines distinct near the middle of the animation. If every layer targets Circle, they converge on the same circle in this setup. Scrub through the target before deciding which combination to use.
The flat view makes it easier to inspect the actual outlines and their intersections. It uses the same three-layer file as the Cinema views.
Download the three-layer ILDA example to compare it with your export. The SVG files remain the editable starting artwork; the ILDA holds the resulting animation frames.
Can I preview the saved morph in a laser room?
Yes. Load the exported ILDA in ILDA Viewer, choose 3D, and open SCENE. Select Cinema and the Orbit camera preset to inspect the changing outline from an angle. The opening view uses Iso. Set ATMOSPHERE → Fog: 0.1, Smoke: 0.1, and Cone: 2%, with Lights off, for the restrained cones shown here.
Cinema is a software simulation of the exported three-layer animation. This view uses the Orbit camera with room lights off; it is not footage of a physical projector.
Use File Health to inspect the actual file, then check the ILDA Viewer guide for playback and Cinema controls. A clean software preview does not certify a projector setup. The laser safety guide covers physical-output preparation.
How is morphing different from a motion path?
Morph changes the outline’s geometry. A motion path carries the entire layer through the canvas, with optional rotation to face its direction of travel. You can keep a layer centered while morphing it, as here, or build a separate movement with the laser motion-path tutorial.
For the full animation controls, see the Animation Studio guide. Current export access is listed in pricing.
Start with one outline, choose a target, and shape the change between them.
Try laser shape morphing