
How to Make Winamp-Style Visuals React to Your Music
To make Winamp-style visuals react to your music, open BeamTracer’s Feedback Dream, choose ACID CAROUSEL, and play an audio file. Assign Bass to SPREAD, LFO A to HUE, and shape the existing Spectral flux route on FLOW WARP. Save your look, then use RENDER to export an MP4 or WebM.
Still choosing a tool? The Winamp-style browser comparison separates classic playback, preset compatibility, and video export.
Hi, I’m Trina with BeamTracer.com. A good preset gets you moving. The fun starts when you decide which part of the music moves which part of the picture. This recipe keeps one look throughout, so you can see what each assignment contributes.
How do you start with a ready-made Winamp-style visualizer?
Open Feedback Dream’s ACID CAROUSEL look in Chrome or Edge, then play a demo track or your own audio file. The preset already reacts to music; the next sections change three routes without replacing the rest of its settings.
- Open FEEDBACK DREAM under WINAMP TRIBUTE in BeamTracer Visualizers.
- Open PRESETS and choose ACID CAROUSEL.
- Press Play audio for the demo, or drag your own MP3 onto the canvas.
- Listen through a phrase and watch the unedited look before changing a route.
- To save a baseline video, choose RENDER → RENDER VIDEO, select MP4 · H.264 or WEBM · VP9, and finish with SAVE VIDEO.
The examples below use the same passage of the built-in Orbital Perlin Blob track. A different song will produce different movement. For Spotify or YouTube listening, use the tab-audio setup guide; use a local audio file when following this export workflow.
One change at a time
Keep the preset’s camera and other controls unchanged while comparing routes. Otherwise, a new viewpoint can make a small change look much larger than it is.
How do you make the bass change the visualizer’s shape?
Assign Bass to SPREAD in the CORE section. SPREAD changes how far the signal path opens out. The preset’s existing Bass assignment on WAVEFORM DISPLACEMENT stays in place, so this adds another response rather than removing the original one.
- Expand CORE and find SPREAD.
- Click its activity button, Assign modulation.
- In Modulate with, choose Bass.
- Open the green Bass pill and keep Anchor → From slider for this example.
- Use Route enabled to compare the response, then leave it on; reduce Amount if the movement overwhelms the picture.
- Choose RENDER → RENDER VIDEO to compare an MP4 or WebM with the baseline.

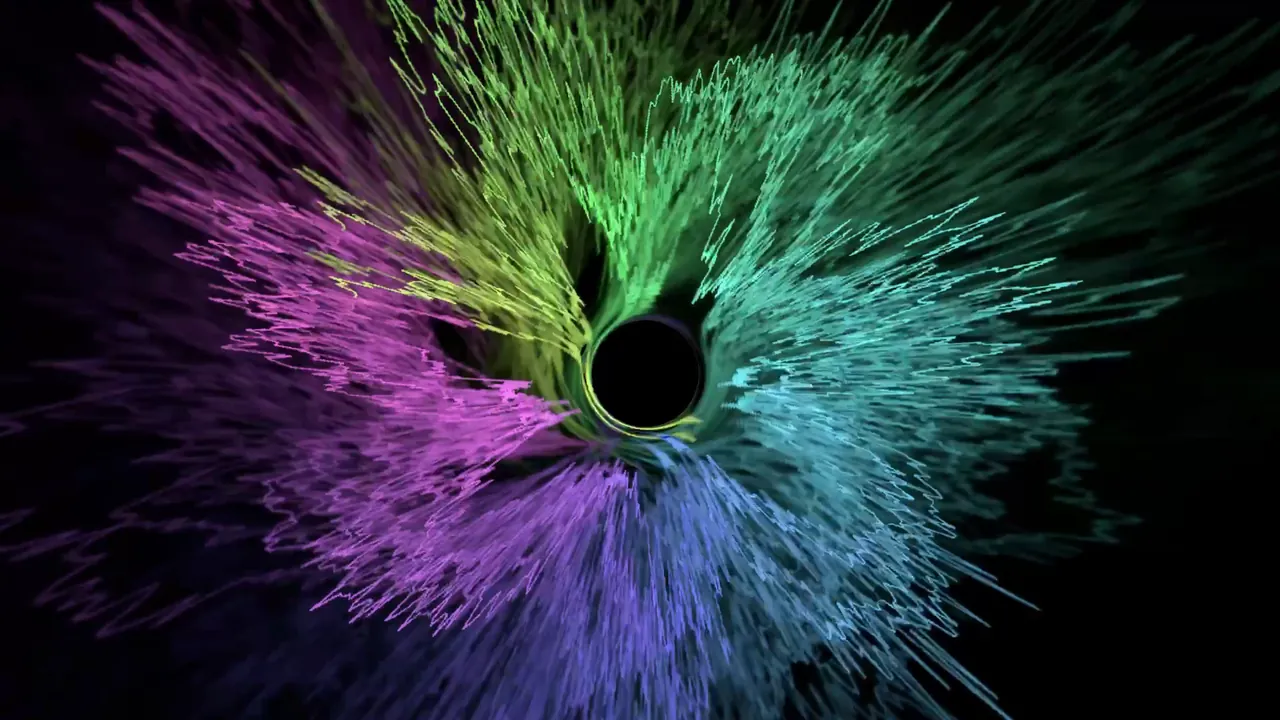 FACTORY RESPONSEBASS → SPREAD
How do you keep color moving between beats?
Assign LFO A to HUE under COLORS. An LFO repeats a motion over time instead of waiting for a louder note. Use From range min/max to sweep the hue range; the ordinary From slider setting starts from the existing hue value.
- Expand COLORS and click Assign modulation below HUE.
- Choose LFO A, then open its green pill.
- Set Anchor to From range min/max.
- Open the Audio Analysis Engine with A, then select Modulation.
- Under LFO A, choose Sine, enable Sync to BPM, and set Rate (× beat) to 0.25 for one cycle every four beats.
- Close the Audio Analysis Engine and choose RENDER → RENDER VIDEO to export an MP4 or WebM with the color movement.
At 95 BPM, a four-beat cycle lasts about 2.53 seconds. A faster tempo shortens that cycle. The LFO can keep changing the color during quiet passages; that does not mean it is detecting a beat in the audio.
How do you respond to changes in the music, rather than volume alone?
Use Spectral flux on FLOW WARP in ANIMATION. ACID CAROUSEL already has that assignment. Spectral flux responds to changes in the sound, while an Envelope response shapes how the motion rises and falls. It is not a guarantee that every kick will create a separate shape.
- Expand ANIMATION and find FLOW WARP.
- Open its Spectral flux pill; if you cleared the assignment, use Assign modulation to choose Spectral flux again.
- Set Algorithm to Envelope, leaving Anchor at From slider.
- Start with Attack (s) at 0.01 and Release (s) at 0.18; lengthen the release if you prefer the response to fade more slowly.
- Toggle Route enabled to compare, then leave it on and adjust Amount to suit the track.
- Choose RENDER → RENDER VIDEO to export the result as MP4 or WebM.

 LINEAR FLUXENVELOPE FLUX
Choose the source you can hear
Bass follows low-frequency energy; Spectral flux follows changes in the sound; LFO A repeats at its selected rate. They serve different purposes. If a route barely moves during a passage, compare another part of the track before adding more assignments.
How do you save and share the edited look?
Use My Presets → Save Current to keep the visualizer settings in your browser. Use SHARE A LOOK → PREPARE MY LOOK for a link that includes your edited settings, audio reactions, and generator settings. The music file is not included.
- Open My Presets, click Save Current, enter a preset name, and click Save.
- Use Load beside the saved preset to restore its visualizer settings.
- Open SHARE A LOOK and choose PREPARE MY LOOK.
- Click OPEN MY LOOK to check the result in another tab, then use COPY MY LOOK LINK to share it.
- Prepare the link again after making more edits; for a finished video, use RENDER → RENDER VIDEO and SAVE VIDEO for MP4 or WebM.
The FACTORY LOOK link shares the original preset, not your current edits. For reusable generator configurations and routes without changing the visualizer’s base sliders, see modulation patches.
Can you export the result for free, without installing an app?
BeamTracer runs in the browser, and the free plan exports watermarked video. Open RENDER, choose the aspect ratio, resolution, frame rate, and MP4 or WebM format, then render and save the finished file. Paid plans remove the watermark; Studio and Bundle include 4K export.
Check INCLUDE AUDIO if the video should contain the loaded track, and only publish music you have permission to use. A live tab-audio connection is separate from this file-based rendering workflow.
For album artwork, titles, and other layers, continue in BeamTracer Studio. The MP3 visualizer guide covers the composition workflow, and the album-art guide explains importing a track’s embedded artwork and tags.
Start with one look. Give each route a job.
OPEN ACID CAROUSEL →